Guys. I actually made something and took a picture before, during and after. I’m pretty sure that constitutes a tutorial. IMHO.
SO. I’ve been looking for a project to do. Something cheap. And small enough that I could put it in my apartment somewhere without having to replace something already existing. That is a tough combination. And then I remembered that I had this white plastic tray laying around. I had previously Mod Podged a piece of decorative scrapbook paper on it and it was sitting sadly somewhere in my land of misfit projects. I was like - REDO!!! And then I was off on a mission to find the perfect design. TO THE HUNT!
After looking everywhere, I remembered ORLA KIELY (!) and then I promptly went and created something that looks just like one of her designs. So…I’ll wait patiently for the cease and desist order.
In the meantime, if you’d like to make one yourself, you’ll need these supplies:
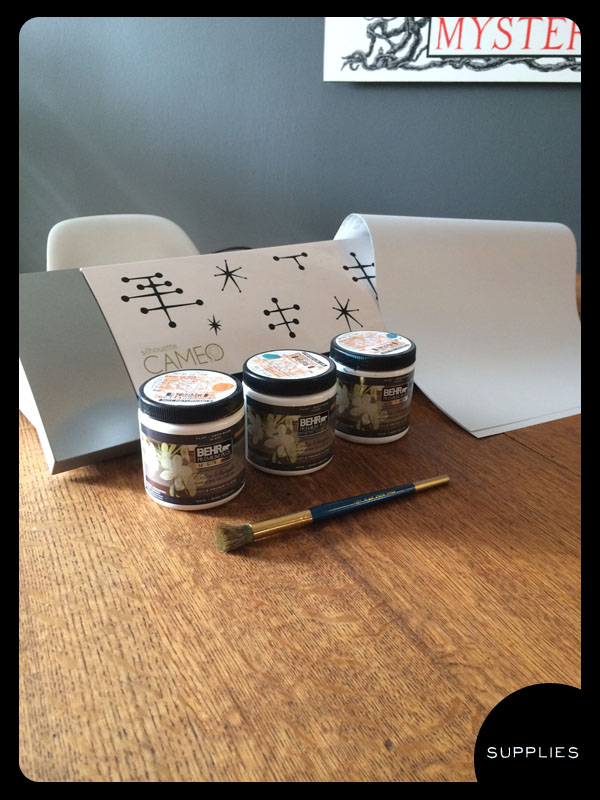
Don’t you love the decals I put on my Silhouette? I do. ANYWAY, do you NEED a Silhouette? No. You can use an X-acto knife and vinyl sheet. Contact paper would work as well. I’m providing you with the Silhouette cut file I made, a .psd file, and a .jpg file. (If you can’t tell, I’ve “discovered” Google Docs). Granted, the .psd and .jpg files aren’t the cleanest, but that’s what I used to make the cut file, so…deal with it. The other supplies - vinyl for the decal, paint in various colors (I had some left from the candlesticks I painted for a baby shower), and a stenciling brush. Oh, and painter’s tape. I didn’t include that in the picture. Whoops.
First things first, you need to cut out the stencil on vinyl (here’s a tutorial on how to do that without a Silhouette) and adhere it to the tray . And then…start your stenciling! Since the center strip was so thin and it’s close to the “leaves,” I put a piece of painter’s tape over the surrounding leaves so that I wouldn’t get any orange paint on them. Then I took off the painter’s tape and tread carefully in the corners near that strip. I also surrounding the entire design with painter’s tape so that I wouldn’t get anything on the surrounding part of the tray. Yes, I realize I should have taken pictures with all this painter’s tape on, but I didn’t. I’m surprised I even thought to take a during picture at all. Sorry about that!

THEN you just remove the vinyl decal and…voila!
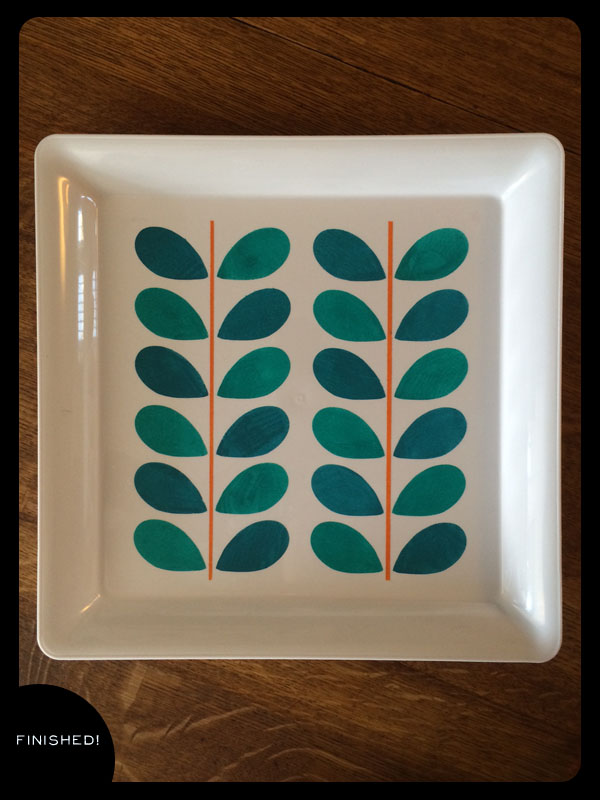
And check this out - I actually measured where to put the graphic. I didn’t just eyeball it. PROFESSIONAL!!! And…easy peasy.

Pin It


